

Last updated September 20, 2026
Free on-site gate assessment - hinges, posts, and your LiftMaster or Nice gate operator checked before anything is quoted
The assessment is free and the quote is the invoice.

Farm & ranch

 Before
 After
After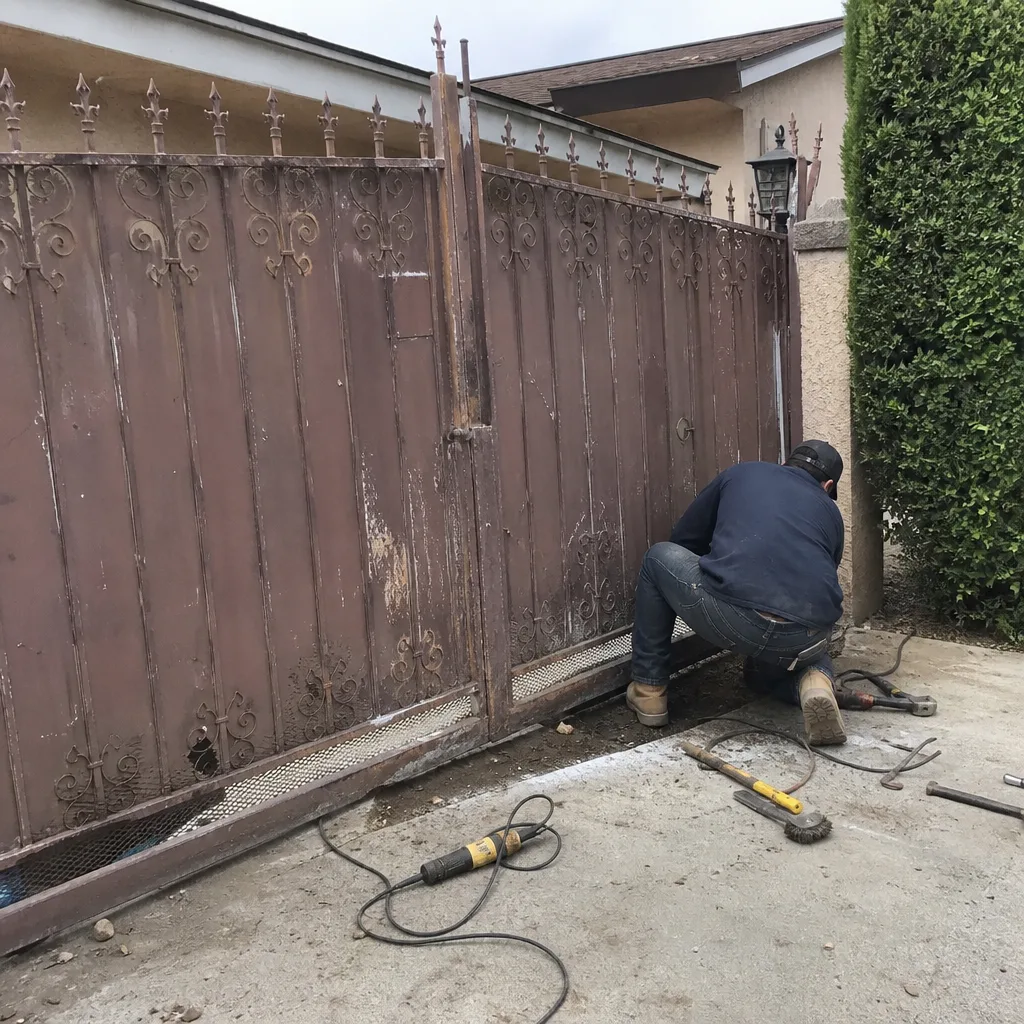 Before
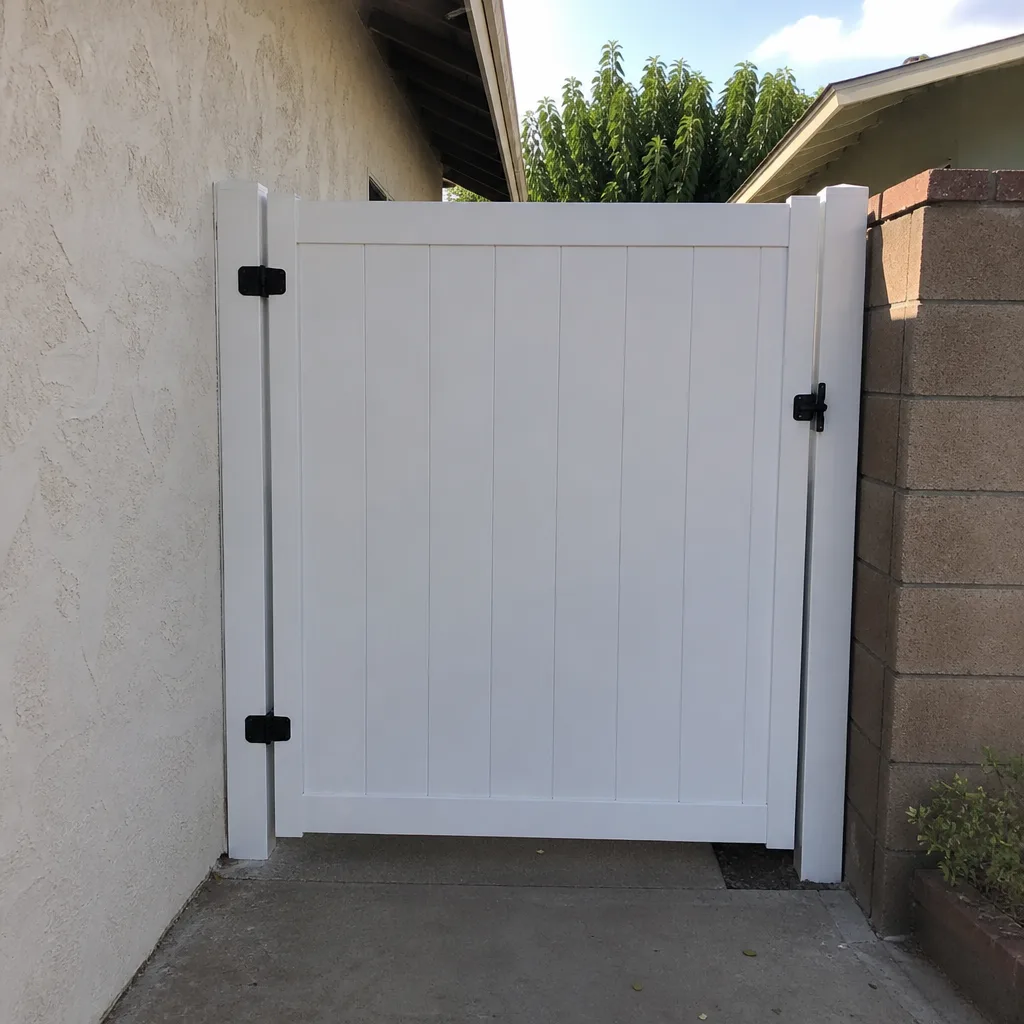 After
After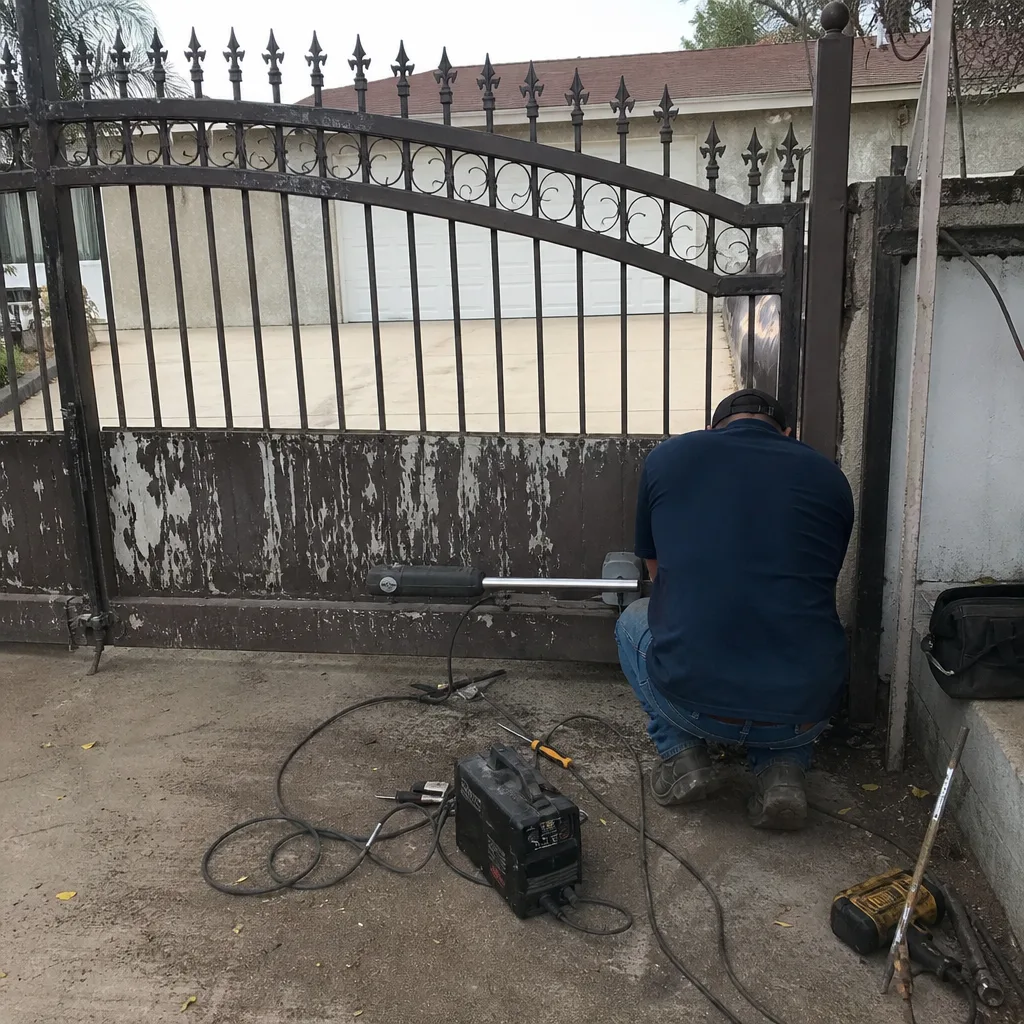 Before
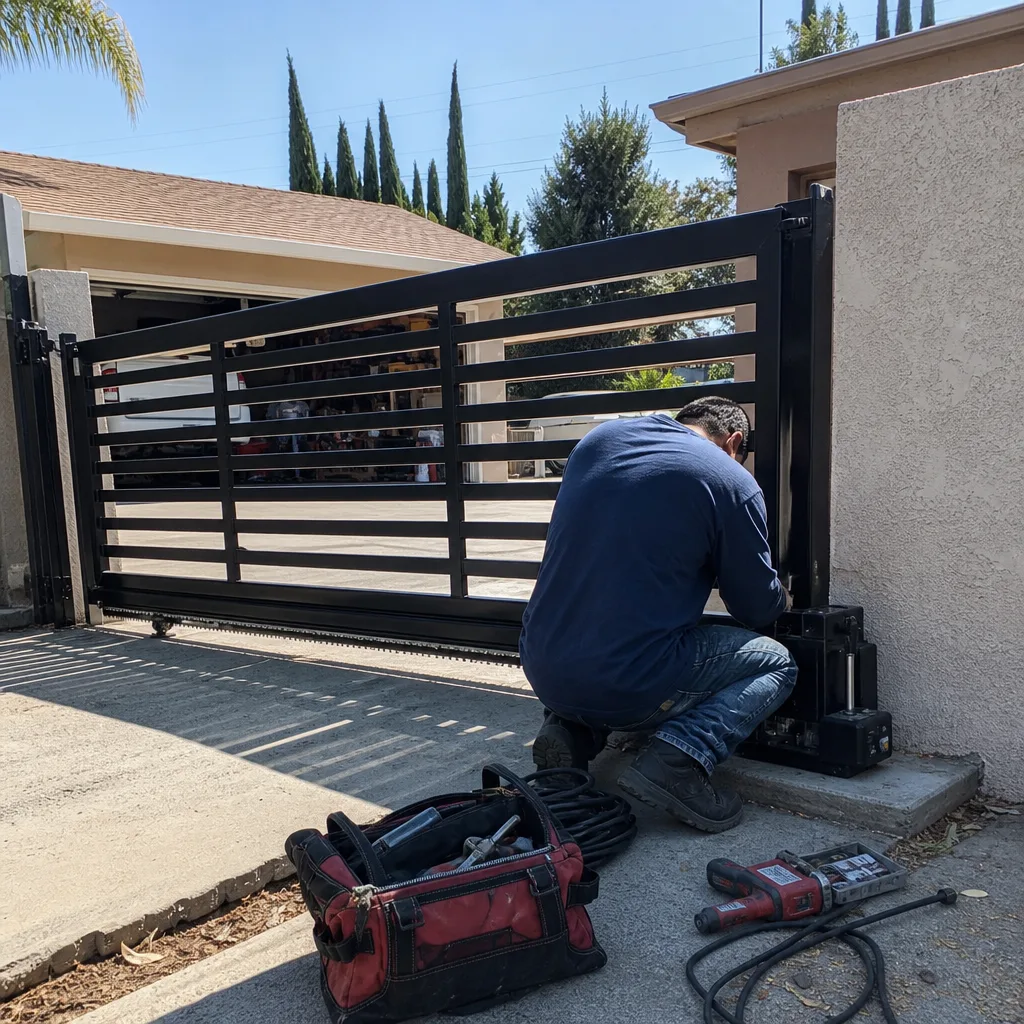 After
AfterGate Repair Maintenance Checklist for West Covina Homeowners
Most gate maintenance checklists fail at the first step: they tell you to “inspect the hinges” without telling you what a failing hinge looks like, sounds like, or measures. A checklist that says “lubricate rollers” but never mentions that a 1/8-inch flat spot on a nylon wheel means replacement, not lubrication, leaves you with the illusion of maintenance. Here in West Covina, where summer surface temperatures on asphalt driveways routinely exceed 140 degrees, the gap between “I checked it” and “I actually measured it” is where gates fail. This gate repair guide gives you the actual pass/fail numbers: torque values, gap tolerances, voltage ranges, and the photo benchmarks that turn a walk-around into a documented maintenance record you can hand to any future technician.
Quick Answer
A proper West Covina gate maintenance checklist covers 12 measurable inspection points across the gate frame, hinges, wheels, track, operator, safety devices, and electrical connections. You’re checking against specific values: hinge play under 1/16 inch, motor capacitor readings within 10% of the printed rating, photo-eye alignment within a half-inch at 30 feet, and battery voltage above 12.4 volts on DC operators. Most gates in West Covina need this full pass twice a year, with three heat-sensitive components checked every 90 days in summer.
Table of Contents
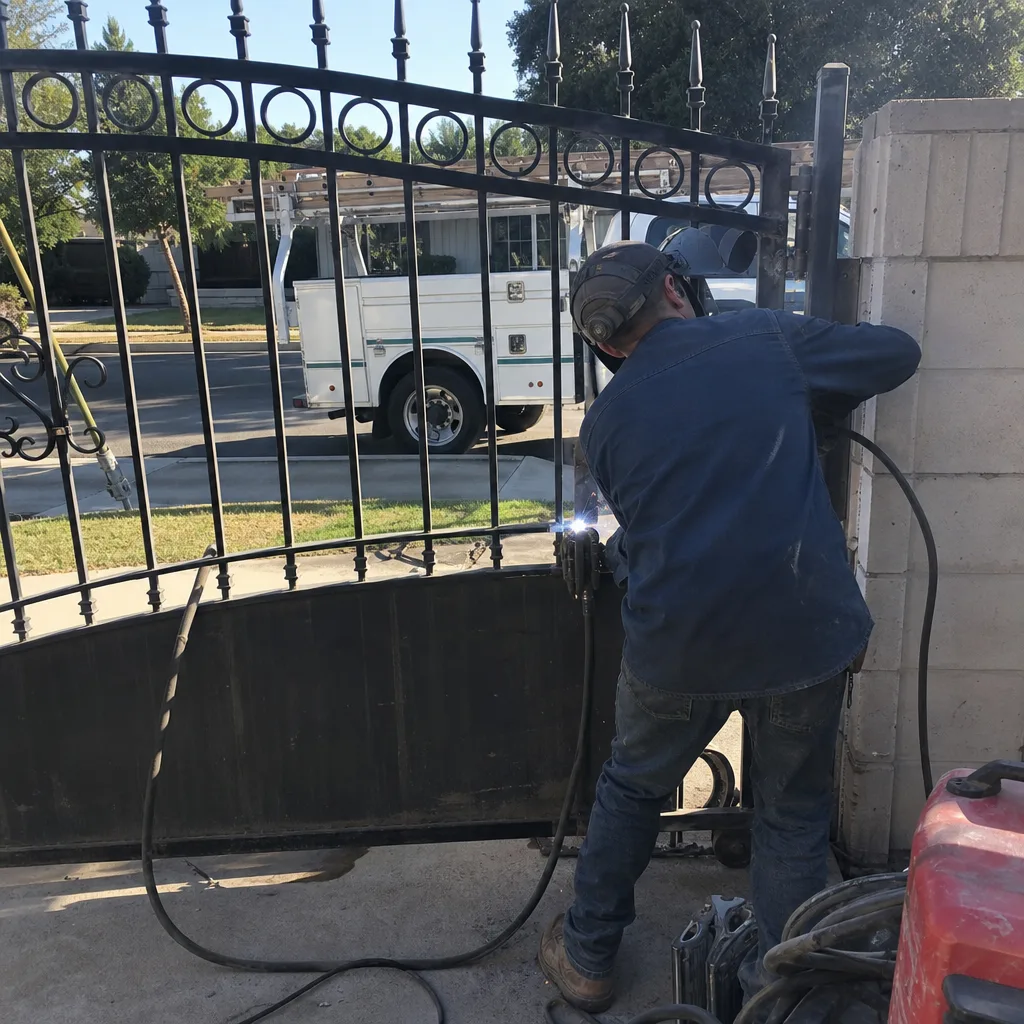
- The 12-Point Inspection Table: Pass, Marginal, and Fail Values
- The Three Components West Covina Heat Destroys Fastest
- How to Photograph Gate Alignment for a Before-Record
- Which Skipped Checklist Items Void Operator Warranties
- What a Completed Checklist File Should Look Like
- A Seasonal Maintenance Schedule for West Covina
- Common Mistakes to Avoid
- When to Call a Professional
BeforeAfterThe 12-Point Inspection Table: Pass, Marginal, and Fail Values
Every item below has a measurement. If you can’t take the measurement, you haven’t inspected it. A flashlight and a $20 digital multimeter cover most of this. A torque wrench helps for the first two. Here’s the table we use as the starting point on every residential visit in West Covina, adapted for a homeowner walking the gate twice a year:
| Inspection Point | Pass Value | Marginal (Monitor) | Fail (Act Now) | Tool Needed |
|---|---|---|---|---|
| 1. Hinge pin lateral play | Under 1/32 inch side-to-side at the gate leaf | 1/32 to 1/16 inch | Over 1/16 inch or visible pin wear | Hand pressure, feeler gauge |
| 2. Hinge bolt torque (weld-on plate hinges) | 45-55 ft-lbs on 1/2-inch bolts | 35-45 ft-lbs | Under 35 ft-lbs or missing bolts | Torque wrench, 3/4-inch socket |
| 3. Gate frame rack (twist) | Under 1/4 inch corner-to-corner on a 6-foot leaf | 1/4 to 1/2 inch | Over 1/2 inch or visible weld cracks | String line, tape measure |
| 4. Wheel/track gap (slide gates) | 1/16 to 1/8 inch between wheel and track at all positions | 1/8 to 1/4 inch | Over 1/4 inch or wheel lifts off track | Feeler gauge |
| 5. Nylon wheel circumference (flat spots) | Round within 1/32 inch; no visible flat | 1/32 inch flat spot forming | Any measurable flat spot or cracking | Caliper or visual check |
| 6. Operator capacitor reading | Within 10% of printed microfarad (µF) rating | 10-15% below rating | Over 15% below rating or bulged case | Digital multimeter with capacitance |
| 7. Battery voltage (DC operators) | 12.4-13.8 volts at rest | 12.0-12.4 volts | Under 12.0 volts or corroded terminals | Digital multimeter |
| 8. Photo-eye alignment (through-beam) | Beam centered on receiver at 30 feet; no flicker | Beam off-center but functional | Beam misses receiver or intermittent dropout | Visual, target test |
| 9. Safety edge response | Gate reverses within 2 seconds of contact at any point | Reverses but slower than 2 seconds | No reverse or dead spot in edge | Rolled towel test |
| 10. Limit switch travel accuracy | Gate stops within 1 inch of set open/close point every cycle | 1-2 inches of drift | Over 2 inches of drift or gate slams stop | Tape measure, observation |
| 11. Chain or belt tension (slide gates) | 1/2 to 3/4 inch deflection at midpoint under 10 lbs hand pressure | 3/4 to 1 inch deflection | Over 1 inch deflection or chain skips sprocket | Tape measure, hand pressure |
| 12. Wiring insulation condition (conduit exits) | Jacket intact, no cracking, no exposed copper | Light surface cracking | Bare wire visible or conduit pulled loose | Visual inspection |
Print this table. Fill in the actual readings, not checkmarks. “OK” is not a measurement. When a technician from any company arrives at your West Covina property, a sheet with “capacitor: 28 µF, rated 30 µF, August reading” tells them something. A sheet with twelve checkmarks tells them you waved at the gate.
The Three Components West Covina Heat Destroys Fastest
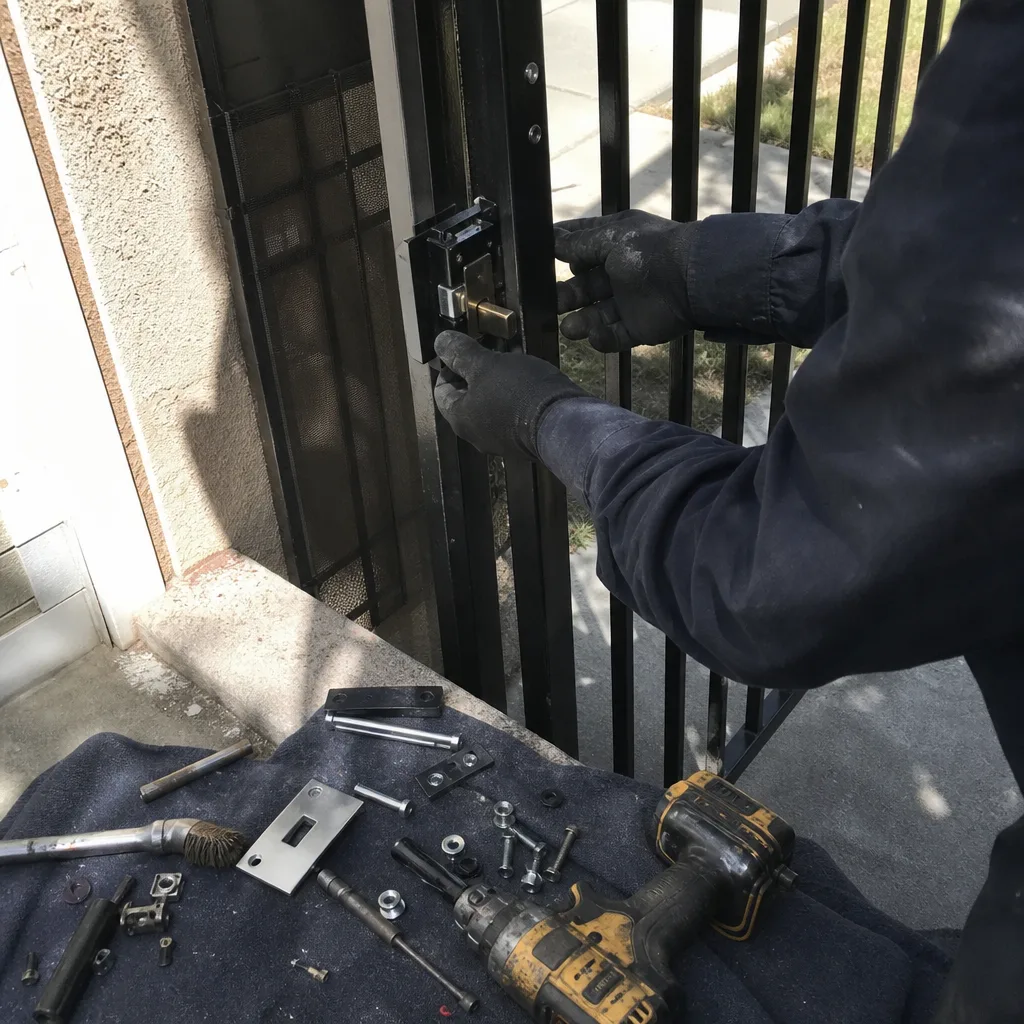
West Covina’s summer is a specific kind of stress test. It’s not just the peak afternoon temperature; it’s the sustained radiant heat from asphalt driveways, the UV exposure on plastic and rubber, and the thermal cycling that happens every evening when things cool down. In our experience across West Covina, three components fail in a predictable order:
- Operator capacitors. Capacitors are the most heat-sensitive electrical part in any gate operator, including units from Viking, Ghost Controls, DoorKing, and Elite. A capacitor rated for 30 microfarads will lose capacity roughly 5-8% per year of normal use, but that rate doubles when the operator housing sits in direct afternoon sun or radiates heat off an asphalt driveway. Check capacitance every 90 days from June through September. A reading 10% below the printed rating is marginal; 15% below means the motor is working harder on every start, which cascades into limit-switch drift and premature gear wear.
- Nylon and rubber wheel inserts. Slide-gate wheels with nylon tires or rubber inserts take the full weight of the gate plus the expansion pressure of the steel frame on a hot day. When the gate leaf expands, the wheels get pinched, and the nylon develops flat spots faster than it would in a milder climate. Flat spots on the wheels translate to drag on the operator, which translates to higher current draw, which translates to earlier motor failure. Inspect wheel circumference every 90 days in summer, and listen for a rhythmic thump during gate travel. A thump means a flat spot already exists.
- Wiring insulation near asphalt. The conduit and low-voltage wiring that runs from your operator to the photo-eye, keypad, or safety edge often sits within inches of the driveway surface. Asphalt radiates heat long after the sun sets. PVC insulation loses plasticizer over time and becomes brittle, then cracks. Once insulation cracks, moisture gets in during the next winter rain, and you get intermittent faults that are hard to diagnose. Inspect any exposed wiring or conduit exits every 90 days in summer and after any rain event.
West Covina’s specific microclimate also means you should check the operator housing’s internal temperature on peak days. If the housing is too hot to hold your hand against for five seconds, the capacitor inside is degrading faster than its rating suggests. A simple shade panel mounted on standoffs over the operator housing can drop internal temperatures by 20 degrees or more, which extends capacitor life noticeably.
How to Photograph Gate Alignment for a Before-Record
A photo record works only if the photos are taken from the same position, same angle, same zoom, every time. West Covina homeowners who photograph their gate alignment every six months can catch a 1/4-inch shift before it becomes a $400 repair. The method is simple and worth doing right.
- Mark your camera positions. Stand at three fixed points: directly facing the gate from the driveway 10 feet back, at the hinge side looking down the gate leaf, and at the latch side looking back toward the hinges. Use a piece of tape or a chalk mark on the driveway so you stand in the same spot every time.
- Shoot a full-frame reference. The first photo at each position should be the entire gate in frame, with the driveway edge, the post, and the house foundation all visible as reference lines. This shows whether the gate leaf itself has moved relative to the ground and the posts.
- Shoot the gap close-ups. The critical measurements are the gap between the gate leaf and the latch post at top and bottom, and the gap between the bottom rail and the driveway at the hinge end and the free end. Photograph each gap from 18 inches away, holding the camera perpendicular to the gap. The gap in the photo should be a clean dark line, not an angle shot.
- Shoot the hinge hardware. Photograph each hinge from directly below and from the side, filling the frame with the hinge pin, the plate, and the surrounding steel. Hairline cracks at hinge welds start small, and a photo from a consistent angle lets you compare month to month.
- Shoot the operator arm or chain attachment point. For a swing-gate operator arm, photograph the arm bracket at full extension and full retraction. For a slide-gate chain drive, photograph the chain where it meets the idler sprocket and the drive sprocket. Note which sprocket tooth the chain is on if possible.
- Store the photos with dates. Save them in a folder named by date, not by description. Your maintenance file should read: “2026-03-15 hinge gap bottom,” “2026-03-15 operator arm bracket.” When the next rain season shifts the soil and the gate moves, you’ll have the exact reference point to show any technician.
One West Covina-specific note: after heavy winter rain, clay-heavy soil in parts of West Covina expands and contracts, which can shift gate posts by a measurable amount within a single season. The photo record above is the only way to prove the post moved, not the gate bent. That matters because a shifted post is a post reset; a bent gate leaf is a cut-and-weld repair. The difference is often $200 versus $700, and the photo record is what proves it.
Which Skipped Checklist Items Void Operator Warranties
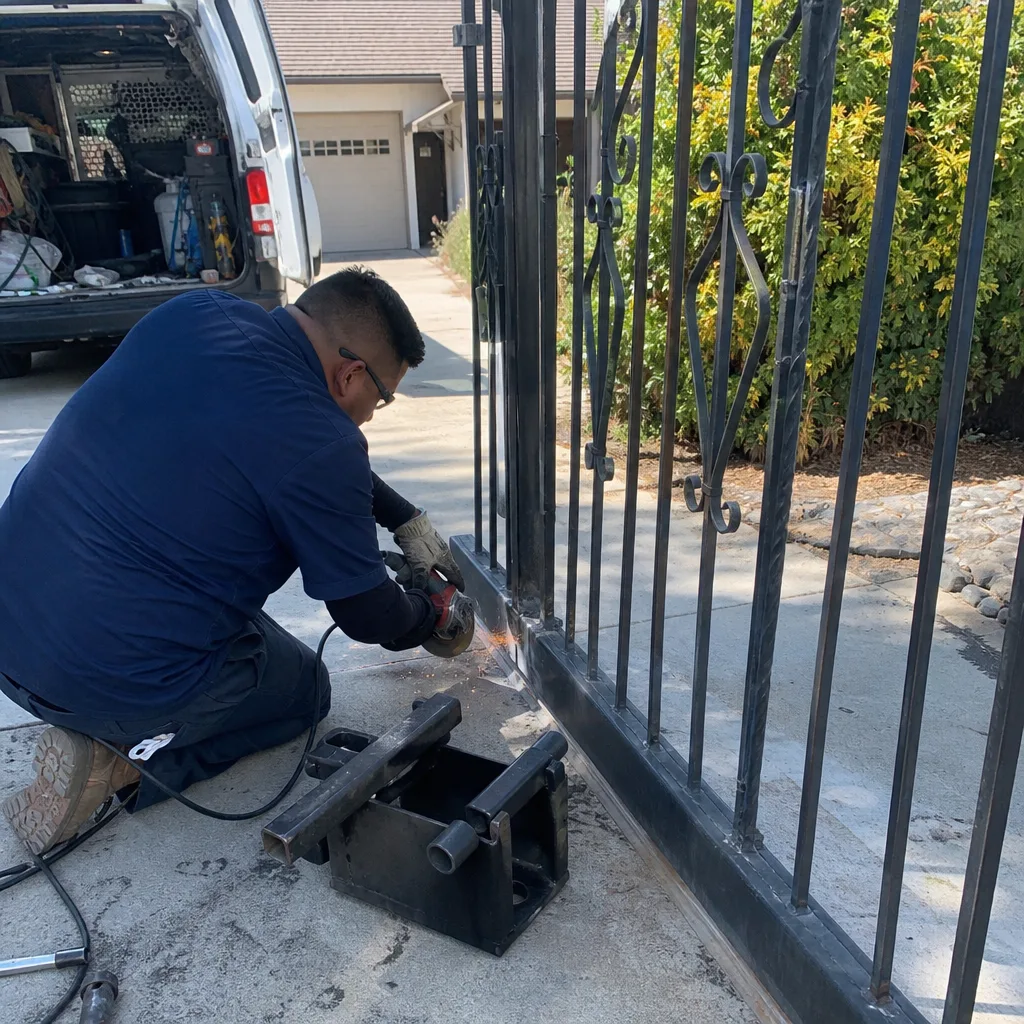
Most gate operator manufacturers, including Ghost Controls, Viking, DoorKing, and Elite, write their warranty documents around operator abuse and neglect, so check Gate Repair Permits, Codes & Inspections in CA: What You Need to Know for compliance details. When a gate operator fails and the manufacturer sends an inspector or asks for the service history, they’re looking for specific evidence of maintenance. If that evidence is missing, the warranty claim is a coin flip at best. Here’s what actually voids or weakens common warranties:
- Failed capacitors left in place. A capacitor reading more than 10% below its printed rating stresses the motor windings on every start. Manufacturer warranty departments treat this the way a car dealer treats an engine seized with no oil. If your service record shows no capacitor test in the last 18 months, the motor failure is compounded by the evidence gap.
- Worn or binding hardware that forces the operator to work harder. An operator rated for a 600-pound gate will pull a 600-pound gate, but it will pull that weight through dirty hinges that add 80 pounds of resistance and through worn wheels that add another 50. The motor delivers 600, but the gate demands 730. The manufacturer’s response: continuous overload, warranty void. Your defense is torque and amp-draw readings taken twice a year.
- Misadjusted force settings on the control board. When a gate starts binding, some homeowners respond by cranking the force limit higher so the operator pushes harder. That’s not maintenance; that’s abuse, and the manufacturer can see it in the control board settings when the operator comes back for inspection. A force setting above 75% of the operator’s maximum on a properly maintained gate means something else is wrong, and the correct fix is the hardware, not the dial.
- Skipped safety-device testing. A photo-eye or safety edge that hasn’t been tested and verified in 12 months shifts liability and warranty burden. If the operator fails and the safety device is also found nonfunctional, the manufacturer will treat the whole installation as neglected, regardless of what actually failed first.
The documentation habit here is the whole point. When we hand a West Covina homeowner a written record with capacitor readings, hinge torque values, and photo-eye test dates, we’re not just doing paperwork. We’re building the file that wins the warranty dispute if a motor fails at month 11. Under Gate Repair in West Covina, every visit includes that record as standard.
What a Completed Checklist File Should Look Like
Here’s the shape of a maintenance file that a future technician can actually use. It doesn’t need to be fancy. It needs to be dated, measured, and photographed. A three-ring binder on a shelf in the garage is perfectly fine. A folder in your email or cloud drive works too. The content is what matters.
The file should contain, in order:
- Gate data sheet. One page at the front with the gate type, dimensions, weight if known, operator brand and model number, control board revision, installation year, and the phone number of the company that installed it. This page saves the next technician an hour of discovery.
- Completed 12-point inspection tables. Every inspection gets a fresh table with actual readings, not checkmarks. Keep them in chronological order.
- Photo record pages. Each inspection’s six alignment photos with dates. Print them two per page, label each with position and date.
- Repair and adjustment record. Every service call or adjustment, whether done by you or a technician, with the date, what was found, what was changed, the part number if parts were replaced, and the technician’s name and company.
- Warranty documents. The operator manufacturer’s warranty card with serial number filled in, plus any extended warranty paperwork.
- Capacitor and battery log. A simple log with date, capacitor reading in microfarads and printed rating, and battery voltage if your operator is DC-powered. This log alone is worth $200 in diagnostic time at the next major repair.
The goal of the file is that no future technician starts over. If you sell the house, hand the file to the buyer. If you hire a different company, hand them the file and watch how fast they find the problem. If you call Vance Gate Repair West Covina home, the file we build for you becomes the spine of every future visit, and any technician who arrives in West Covina gets the full history before they touch a wrench.
A Seasonal Maintenance Schedule for West Covina
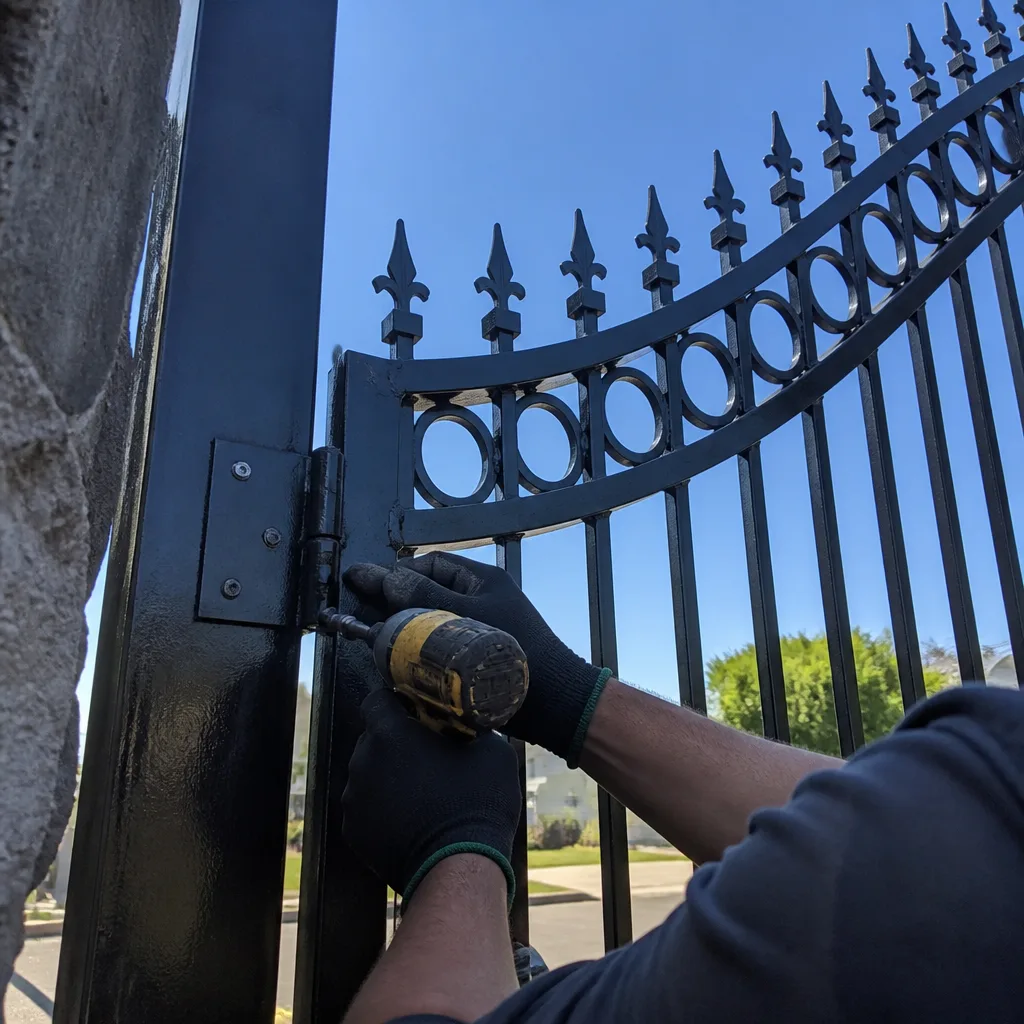
West Covina doesn’t have four distinct seasons in the sense that Minnesota does, but it has three maintenance-relevant periods: the wet winter, the dry spring winds, and the brutal summer heat. Your gate doesn’t need the same service every season. Here’s how we schedule it for West Covina homeowners:
Every 6 months (March and September): Run the full 12-point inspection table. March catches the end of the wet season, when water penetration and soil movement have done their work. September catches the end of summer, when heat degradation is at its peak and before the first rain of winter exposes any cracked wiring insulation or weather seal failures. These are the months to take your photo record and update the file.
Every 90 days in summer (June, August, and early September): Check the three heat-sensitive components: capacitor reading, wheel flat spots, and wiring insulation near asphalt. On a 90-degree day in West Covina with an asphalt driveway, the operator housing internal temperature can pass 130 degrees. These checks take 20 minutes and catch the failures that happen in August, not February.
After any major rain event: Check the gate post bases for soil erosion, the operator housing for water intrusion, and the wiring conduits for water collection. West Covina’s winter storms can drop enough rain in a week to shift soil around gate posts and expose wiring that was buried six inches deep.
After any high-wind event: Santa Ana winds put lateral load on swing gates and vibration load on slide gates in ways the operator was never designed to handle continuously. Check hinge play, latch engagement, and the operator arm bracket after any sustained wind event over 25 mph. If your Gate Motor & Opener in West Covina has an automatic closing feature, a wind-shifted gate can cause the operator to fight the latch on every cycle, which burns motors faster than anything else.
Common Mistakes to Avoid
- Lubricating without cleaning first. Applying fresh grease over old grease and road grit turns the hinge into a lapping compound. Wipe the hinge pin and bushing clean with a rag, then apply lubricant. The most common West Covina mistake is treating lubrication as a substitute for disassembly and inspection.
- Using WD-40 on gate hinges and chains. WD-40 is a water displacer, not a lubricant. It washes out whatever real grease was there and leaves the surface essentially dry within days. Use a lithium-based grease on hinges and a dedicated chain lubricant on chain drives.
- Adjusting the limit switch to fix a drift problem. If a gate stops an inch farther each week, the limit switch isn’t drifting on its own. The gate is drifting because hardware is wearing or the chain is stretching. Adjusting the limit switch masks the problem until the operator tears itself apart. Fix the hardware, then re-set the limits.
- Testing the photo-eye by waving your hand. A hand wave proves the beam is partially functional, not that the beam is aligned across the full gate path. Block the beam at three positions: near the transmitter, at the midpoint, and near the receiver. If the gate reverses all three times, the beam is aligned. If it fails one position, you have an alignment problem at that point.
- Ignoring the battery in a DC operator. In West Covina, where power flickers and outages happen during summer heat waves and Santa Ana winds, the battery is what gets your gate open when the grid drops. A battery that reads 11.8 volts looks fine until you need it, and then it won’t cycle the gate once. Test it every 90 days and replace it at 12.0 volts or below.
- Filing paperwork without the measurements. The difference between “checked the gate” and “measured the gate” is the difference between a liability document and a maintenance record. A technician who finds “hinges: OK” in your file knows nothing; one who finds “hinge pin play: 0.020 inch, March 2026” knows whether it’s getting worse.
When to Call a Professional
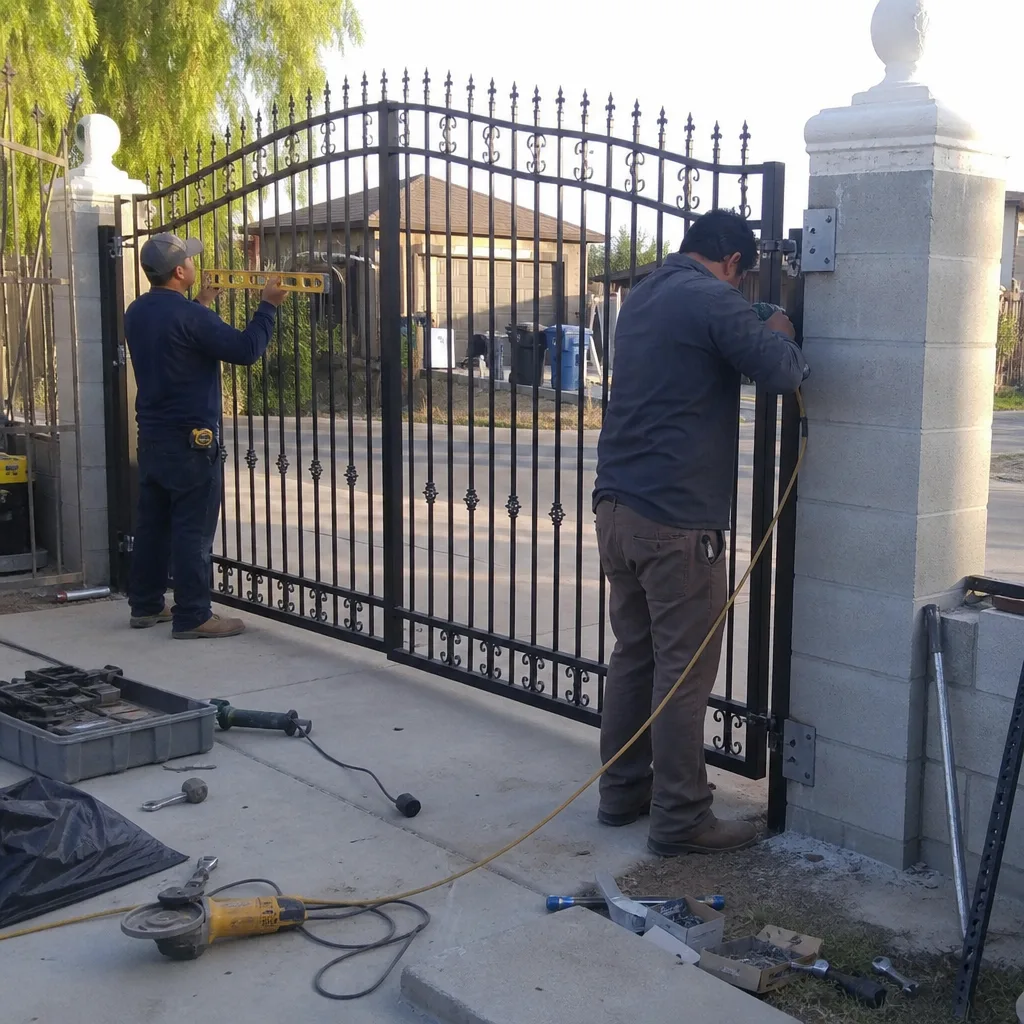
Some checklist items are warnings, not tasks. If you get a fail reading on hinge pin play, a capacitor more than 15% below rating, any visible weld crack, any exposed wiring copper, or a safety edge that doesn’t reverse the gate within two seconds, don’t complete the checklist and call it done. Call someone who can do the repair with the same measurements you just took. Vance Gate Repair West Covina offers free estimates in West Covina, and every visit includes a written price before any work starts, plus a documented photo record of what was found and what was set. Call (562) 368-4485 and talk to a live person, any hour, any day.
Frequently Asked Questions
Run the full 12-point inspection twice a year, in March and September, plus the three heat-sensitive checks every 90 days during summer. West Covina’s heat accelerates capacitor aging, wheel wear, and wiring insulation cracking faster than coastal areas, so the summer interval matters.
A homeowner who does their own inspection with a $20 multimeter spends about $30 to $50 per year on lithium grease, chain lubricant, and replacement batteries if needed. A professional maintenance visit in West Covina typically runs $125 to $250 depending on the gate type and operator complexity, and any company you hire should give you a written price before the visit begins. Call (562) 368-4485 for an exact quote, free of charge.
Yes, Vance Gate Repair West Covina has a live person answering phones 24/7 and same-day service available for emergency gate failures in West Covina. If your gate is stuck closed and you can’t get your car out, call immediately and describe the symptoms; the technician on the phone will ask about the operator brand, whether you hear a clicking sound, and whether the gate moves at all, which helps dispatch the right parts on the first visit.
Yes, we service all four of those brands plus LiftMaster, FAAC, BFT, Linear, and Mighty Mule. We don’t steer homeowners toward replacing an operator when a repair is the right fix, and we work on whatever motor is already on the property. If you’re considering a new gate or operator, see Gate Installation in West Covina for what a full install includes.
If you have the photo record described in this guide, you can compare the current alignment against your dated photos and see whether the post shifted or the gate leaf bent. That distinction determines whether you need a post reset or a structural repair. Without the photos, the diagnosis costs extra shop time and often ends in guesswork.
Every job we complete is covered by the 365-Day Done Right Promise: if the repair is not right, we make it right, no argument, no fee, no expiration within one year. Every visit also includes the written price before work starts and the documented photo record, so you know exactly what was done and what it cost. Call (562) 368-4485 to schedule.
The Bottom Line
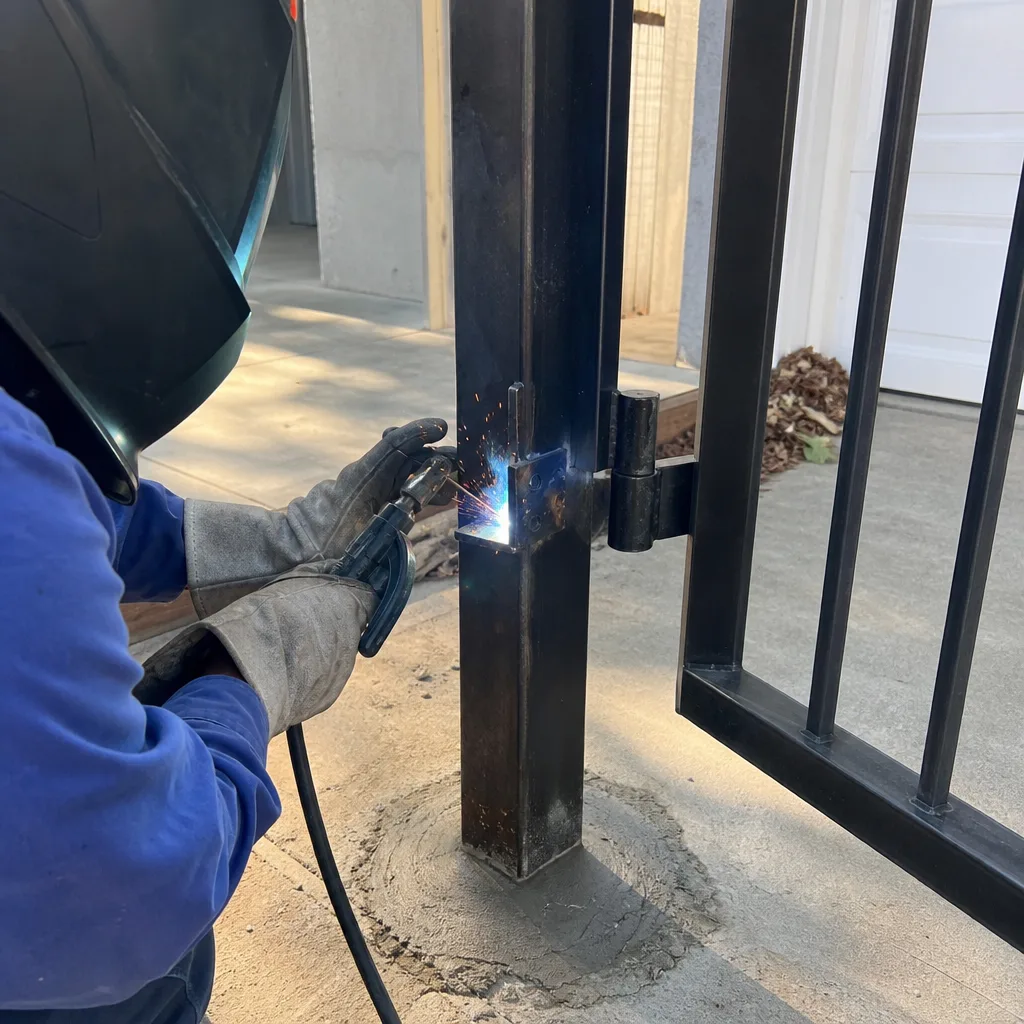
A gate maintenance checklist in West Covina is only as good as the numbers on it. “Checked” means nothing; “capacitor at 28 µF, rated 30 µF, August 2026” means something. Run the 12-point inspection twice a year, check the three heat-sensitive components every 90 days in summer, photograph your alignment from fixed positions, and keep the file somewhere a future technician can use it. When one of those measurements goes into fail range, call a professional before it cascades into a motor replacement, or explore our more guides & resources to learn more. The $200 maintenance visit in September beats the $1,400 operator replacement in February every single time.
Written by Adrian Vance, Owner at Vance Gate Repair West Covina, serving West Covina since 2014.